Matt Stohrer wrote an excellent article about adjustment materials that you can read here. (This is going to be a trend and I'm going to link to his articles often) I'm going to try not to talk too much about the materials themselves, but instead the adhesives. I will someday write such an informed article as Matt, but that day is not today. Instead, I will write this one:
Can we all just agree that the type of adhesive you use matters? K, thanks. But seriously, depending on what material you're using, where you're applying it, and the type of motion enacted upon it, you need to think about the type of adhesive you use. Not only that, you need to think about how and where you apply it. I'm going to break this article up in to the types of adhesives and where they should be used.
Shellac
Shellac is the best adhesive for saxophone pads. There are many different types, and you'll find a favourite type of shellac as you experiment over the years. I use either dewaxed shellac flakes to make my own stick, or amber stick shellac from Allied Supply in a pinch. I like the dewaxed shellac because it's not as runny. (It also smells great, in my opinion) It seems to float a little easier than the runnier pre-made shellac sticks. Below is a picture of a stick of shellac I made from dewaxed shellac flakes (left) next to a pre-made stick of amber shellac (right).
When applying shellac to the pad, it needs to be flat, even coverage, with no air bubbles. Below is a picture of a pad with poor shellac coverage. The shellac doesn't cover the entirety of the backing, and it has air bubbles. They've also neglected to remove the hot glue from the pad cup, negating the shellac altogether.
The image below is of a now clean pad cup with a new pad that has much better, though still not perfect shellac coverage. It is flat, covers the entire back of the pad, and has virtually no air bubbles. This will make installing it easier, and the pad will last longer.
Contact Cement
Contact cement is an extremely useful adhesive. I use it for tenon corks, neck corks, and some key corks. The reason I say SOME key corks, is that it depends on the function of the cork. When selecting the type of adjustment material, you first need to address the type of motion taking place. Contact cement, in my opinion, belongs only on silencing key corks. IE: Key feet that contact the body of the instrument to stop the key. Contact cement has somewhat of a squishy feel, even when it is dried. For this reason, it absorbs vibration well but does not transfer motion well, as there may be some motion loss due to the squishyness of the contact cement. It's also really important to be patient with contact cement. This seems like a given, but sometimes we're in a rush and don't want to wait for it to dry. Just wait. Otherwise you're going to have to do it again because the contact cement lets go and the cork falls off. While you're waiting for the contact cement to dry, work on something else. Before long, 15 minutes goes by and your contact cement will hold perfectly.
Not all contact cements are the same, so be sure to try a few and figure out which you like best. Below is a picture of the contact cement that I use.

Cyanoacrylate (CA or "Crazy") Glues
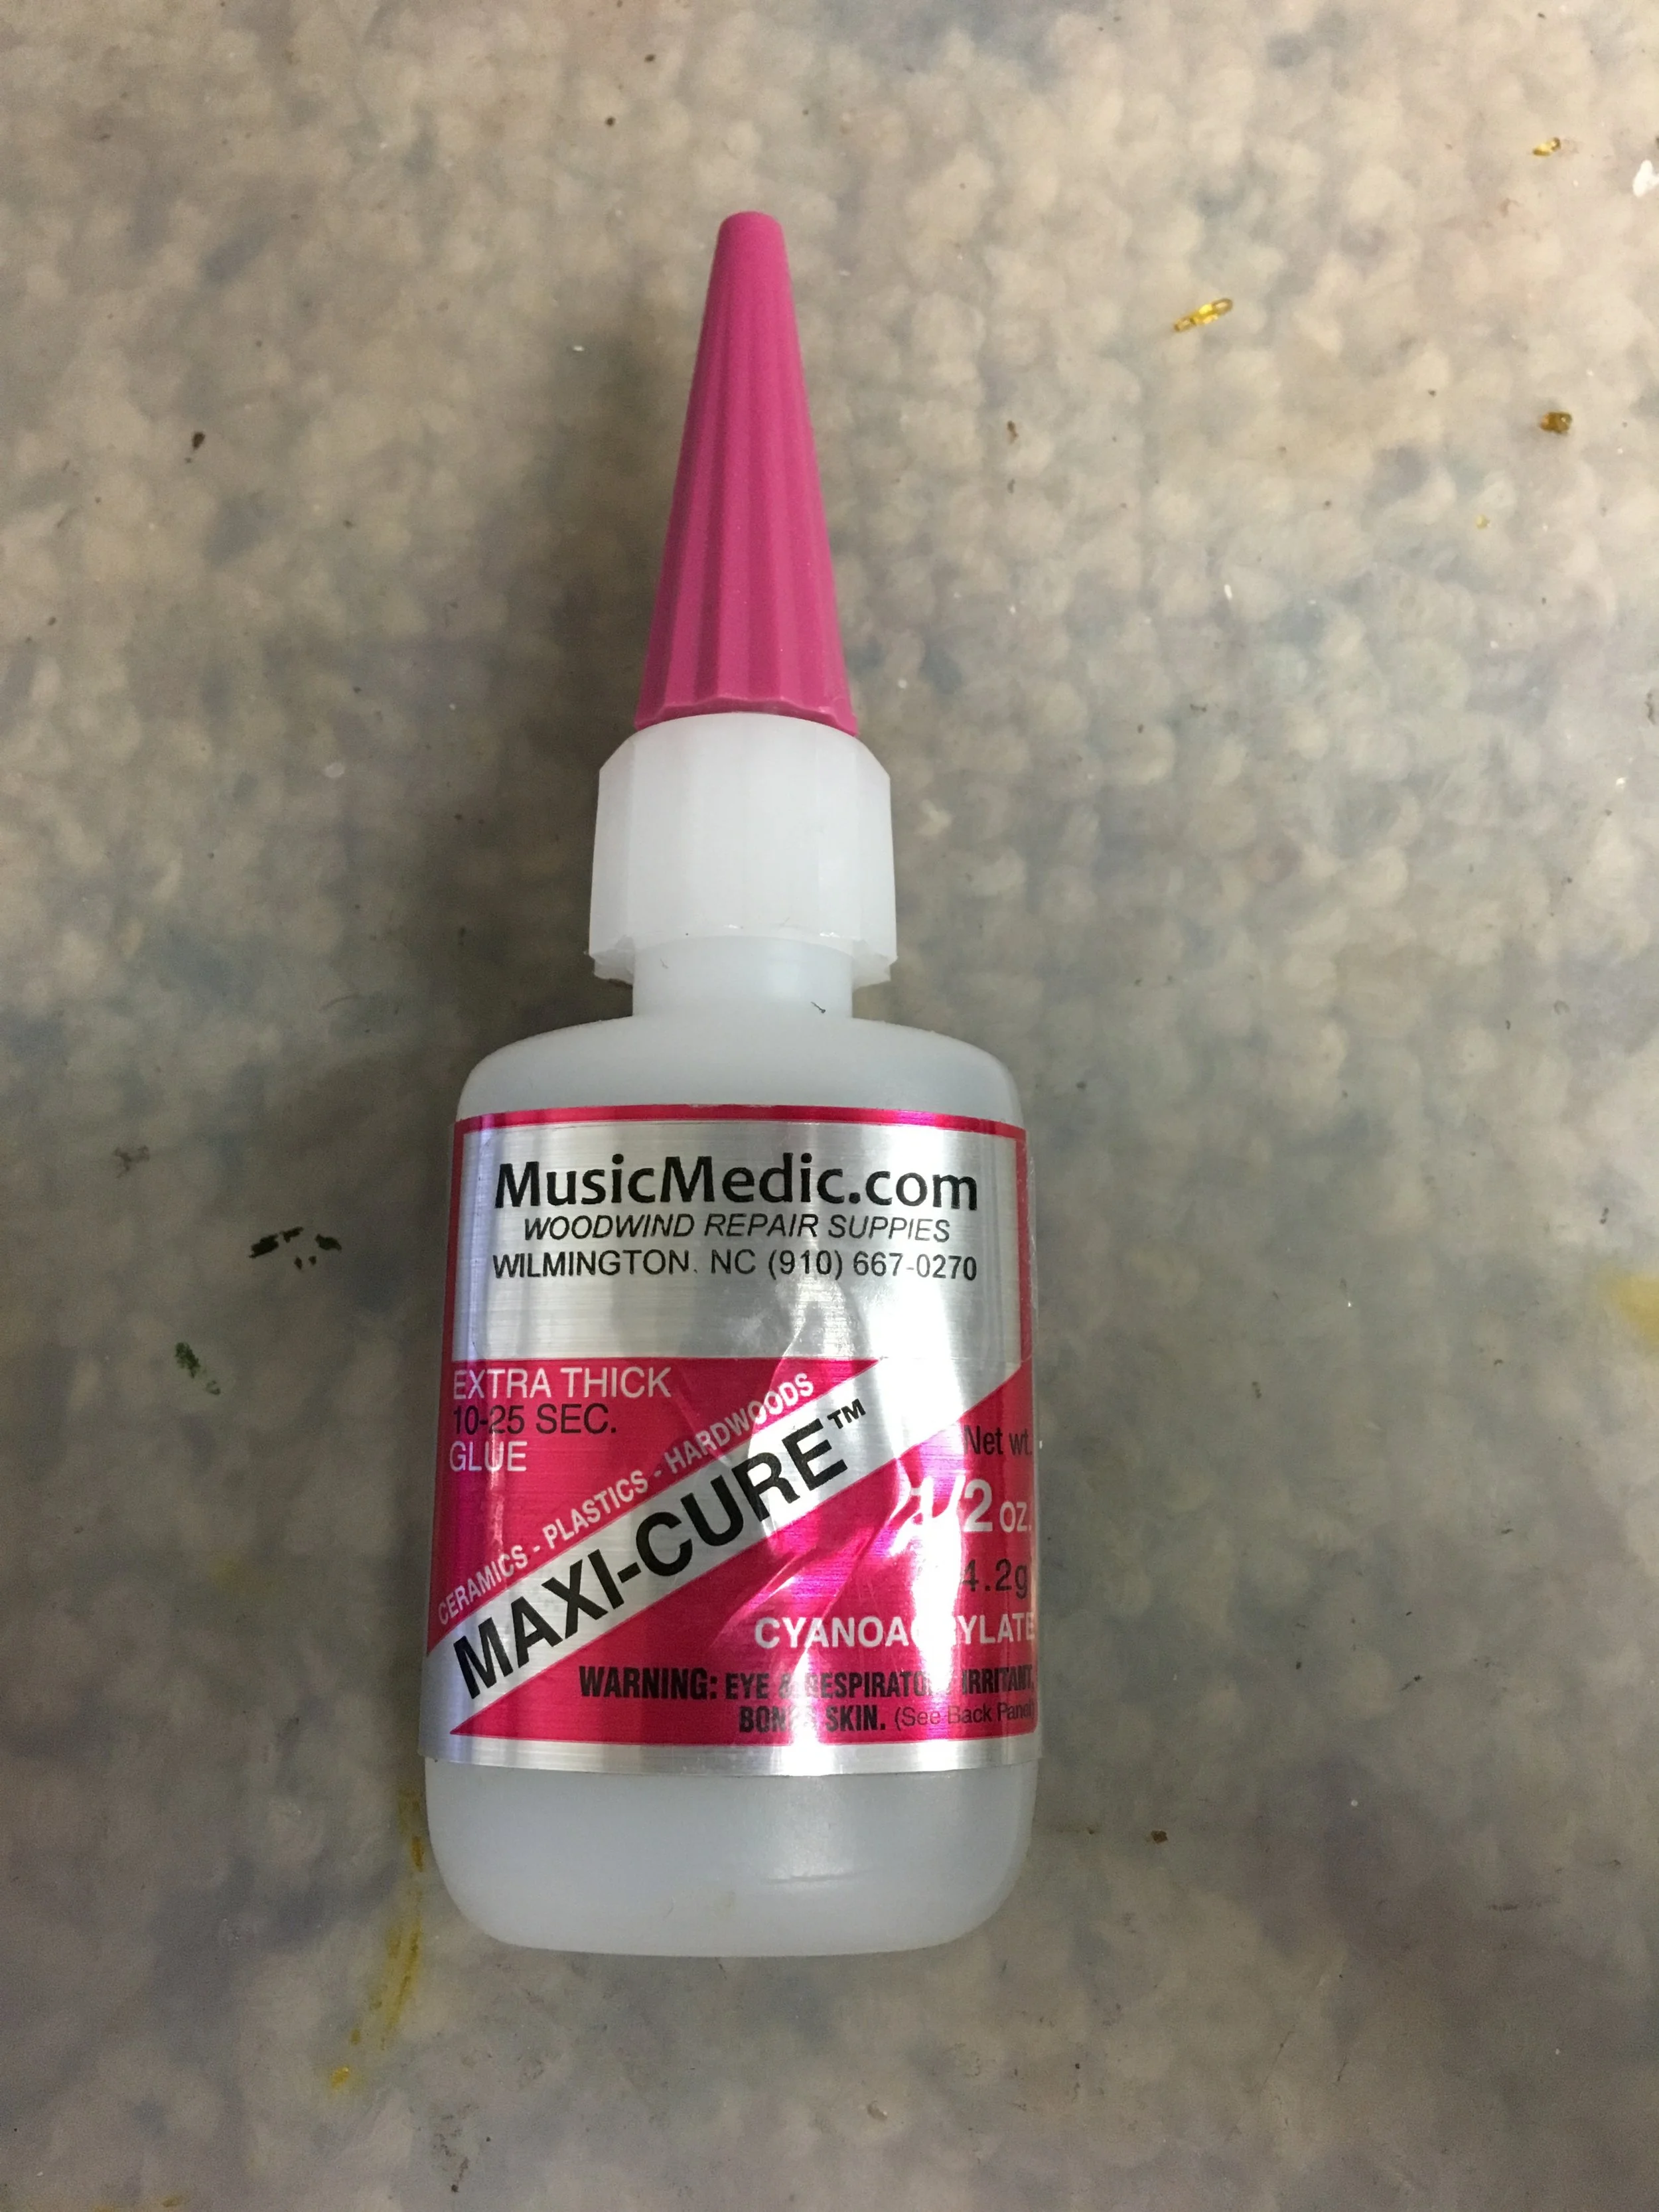
CA or crazy glues belong on any kind of joint that transfers motion to another key. CA glue dries rock hard and transfers motion extremely well. Because it dries rock hard though, it is not suitable for silencing materials. It will not absorb vibrations well. For example, bridge key joints on clarinets where the joint is strictly motion transfer, CA glue on tech cork is a perfect combination. CA glue is also extremely versatile all over the shop, but a little thought into why you're choosing to use it will go a long way. Also, you will need to have a variety of thicknesses available. Thin, runny CA glue will not work on felts, since it will just soak into the felt. Below is a picture of the CA Glue that I most frequently use.
Hot Glue
Hot glue belongs in the trash. Ok maybe that's a bit harsh. You can use it for things like case repairs, and it is kind of handy for various things around the shop. But, in my opinion, in has no business being used to install anything onto an instrument.
That about sums up the types of adhesives I use around the shop. What I hope you take away from reading this is that different types of adhesives have different properties, and that even something as simple as adhesives can make a difference.
Thanks for reading!